Sometimes it’s an easier or more affordable option to fix your tire by patching it than replacing it entirely. Of course, if you have a tire subscription service like Treads, you can get damaged tire replacements and flat tire repairs for less than $1.50 a day. If that kind of convenience doesn’t speak to you right now or you just need a hot fix right now, keep reading on where we’ll break down how to patch a tire as well as some other important considerations.
Step 1: Locate the Leak
So, you’ve discovered you have tire problems and are faced with a flat tire. It’s a bad idea to drive on a flat tire, so you’ll need to pull over to repair it. Once you are pulled over, start by performing a visual inspection of the tire. Keep an eye out for any cuts, holes, or scrapes that might be releasing air.
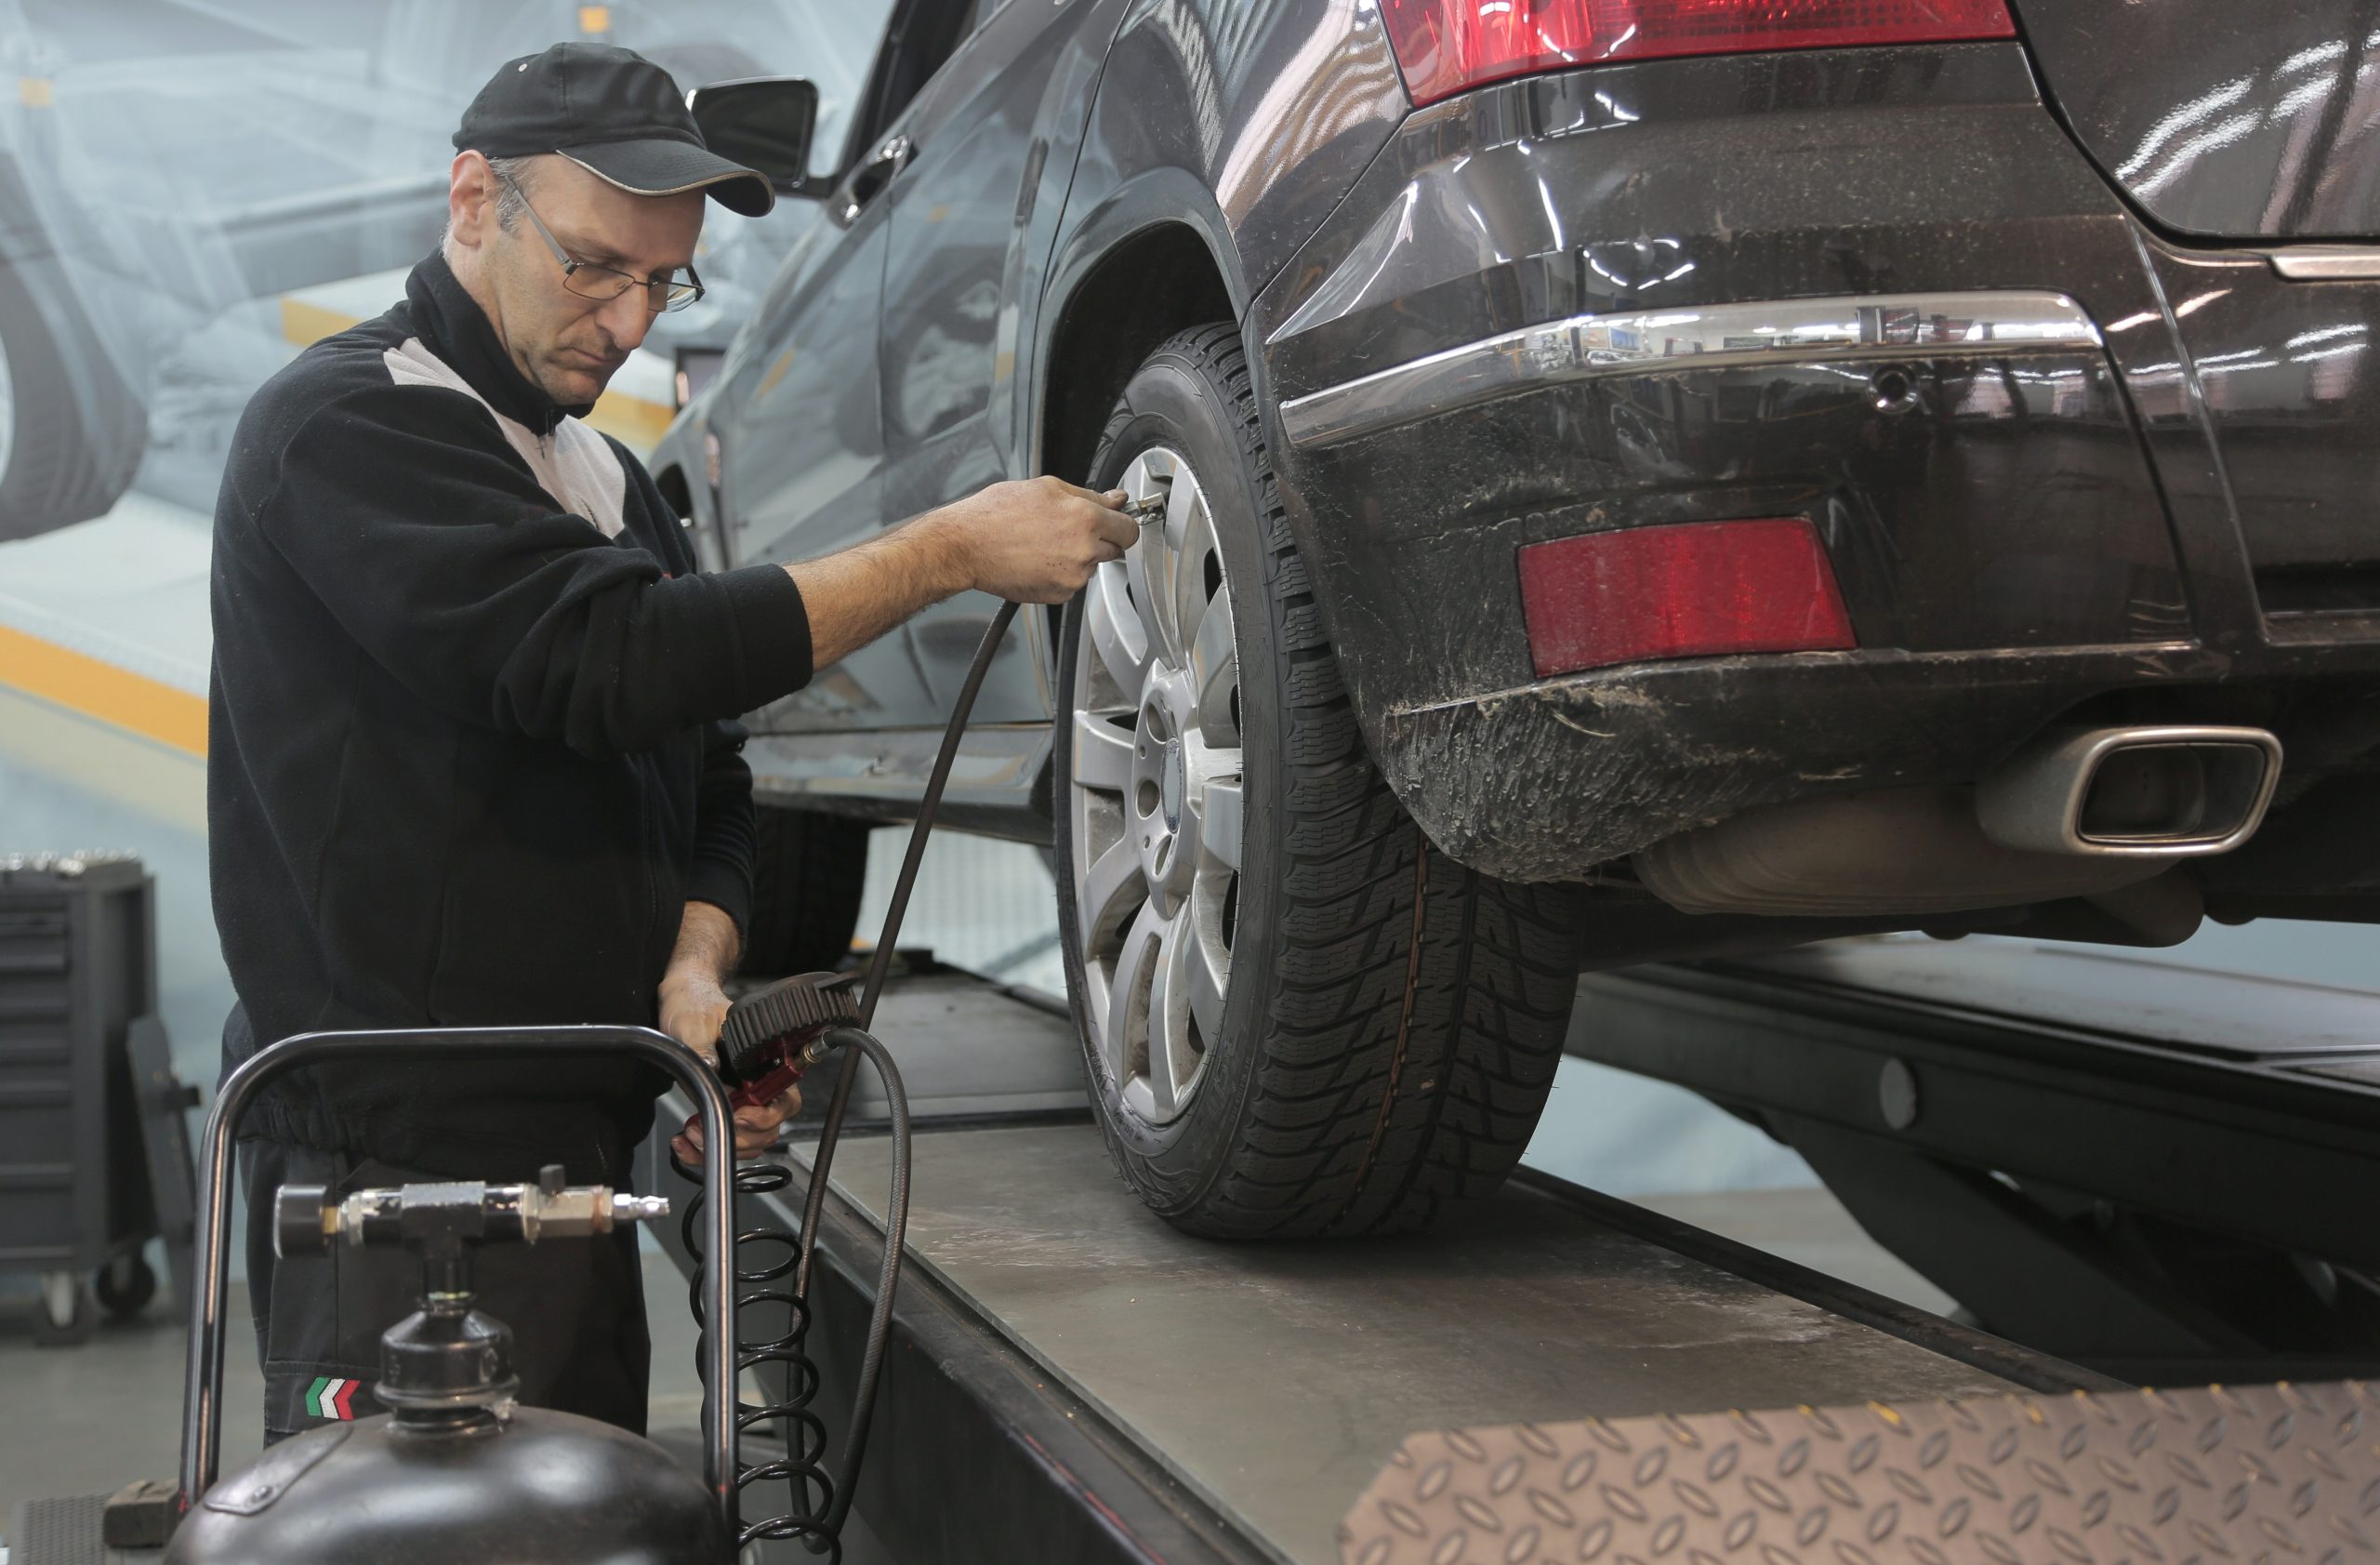
If your tire has lost too much air, it may be difficult to locate the leak. Using a portable air compressor, inflate the tire to standard pressure. In most cases, you should hear a hissing sound coming from the leak.
Once you hear the hissing sound, follow it with your hand to see if you can feel the air causing the tire leak.
One backup plan you can use if you are having difficulty hearing or feeling the leak is to use soapy water. Mix a bucket full of water and dish soap together and pour it onto your tire.
You should see bubbles forming where the air is escaping from the tire.
Step 2: Remove the Tire
Now that you’ve found the leak, the next step is to remove the tire from the car. To do this, use a jack to jack up your car so your tire is no longer in contact with the pavement.
Use the lug wrench on your tire iron to loosen and remove the lug nuts. Once removed, you should be able to easily pull the wheel off of your car. If you see any protruding objects, like a nail, remove those before proceeding.
Next, deflate your tire completely by pushing down on the tire valve until all air is released. If there is still air remaining, remove the valve stem core with a valve stem core remover.
Deflating your tire completely is essential to be able to remove your tire from the wheel.
Finally, break the seal between the tire and the rim with a tire spoon and hammer. This will break the bead on both sides, which keeps the tire sealed to the wheel.
Step 3: Apply the Patch
Part of knowing how to patch a tire is being prepared. For times like these, it’s a good idea to invest in a tire repair kit for your car in case of emergencies. A tire repair kit will have everything you need, including:
- Gloves
- Reamer
- Pliers
- Valve stem core remover
- Lubricant
- and more
To apply the patch, start by using the reamer tool to ream the puncture hole. Insert the tool in the hole and back out in a sawing motion. This ensures good contact with the patch for optimal tire safety.
Next, use a rasp or diamond-grit sandpaper to rough the rubber around the puncture area. Remove any excess bits of rubber after the area is rough. This will provide a better surface for the patch to adhere to than the original smooth surface of the tire.
Your kit should include rubber cement or another adhesive. Apply a thick layer of the adhesive around the puncture. Then, remove the backing from the patch to expose the tacky side.
One side of the patch should have a pointed tip. Push this part into the hole in the tire from the inside. Once it’s pushed through, use pliers to pull the pointed part through completely and trim it so it is flush with the tire.
This helps the tacky side of the patch adhere tightly to the inside of the tire.
Step 4: Reinstall the Tire
Now that your patch is secure, it’s time to put the tire back on the wheel and reattach it to your car.
Realign the tire with the rim and pop it back on. This can be challenging, so we recommend using a crowbar if one is available.
If you needed to remove the valve stem core, be sure to replace it before reinflating the tire.
Next, double-check for any remaining leaks. If there is no visual tire leak or hissing sound, you can reattach the wheel and tire to your car.
When replacing your lug nuts, practice proper tire safety by tightening them in a criss-cross pattern.
How to Patch a Tire: Other Considerations
Knowing how to fix a puncture is a good first step but there are other considerations when it comes to fixing your tire.
Not All Flat Tires Can Be Patched
Repairing a tire with a patch is a great way to save money on tires, especially if a brand new tire received a small puncture.
However, not all flat tires can be fixed with a patch. If the damage is specific to the tire tread only, you can use a patch kit to repair it.
On the other hand, if the damage extends to the sidewall of the tire or the shoulder, a patch cannot be applied. The same can be said for tires that have been patched previously.
At this point, we recommend contacting a tow truck so you can get the tire replaced.
Patching is Not a Simple Task
Patching a tire is a lot of work, as you can see from the instructions above. If you feel confident in your skills and have all the necessary tools, go ahead and try it out, but expect this to be a fair amount of work.
Consider Waiting for a Professional
If you have any doubts about your skills with placing a patch on your tire, hold off on your tire repair. Consider calling a tow truck and seeking out the help of a professional.
Treads offers a range of services to help get you back on the road.
You’re Ready to Patch Your Tire
Now that we’ve reviewed how to patch a tire properly, as well as other things to consider, you should be feeling pretty confident in your understanding of the process. Make sure you have all of your tools with you and always make sure your repair kit is well-stocked in case of emergencies.
Need a new set of tires and don’t want to leave the house or sit in a waiting room that smells like burnt coffee and rubber? Let us know, and we’ll bring the tire change to you!